finally i am back...what ever crud i had kicked this arty girls butt in a big way and made the beast (meniere's vertigo for those who are new here) cranky. but i am back.
i still need to finish the other bunny necklace, but i really wanted to work on something easter-y today. i really don't have many decorations for easter. i dunno why.
and yes, the bunny necklace is easter-y....but i just didn't wanna work on it....ok already?
what vintage decorations i have i loves......
these bunnies were made with my mom. 16 years ago we were going to get into the craft business, but i had a newborn at the time and it just never....happened. probably a good thing because when sewing these i wanted to jab the scissors in to my body repeatedly....i just can not do repetition.
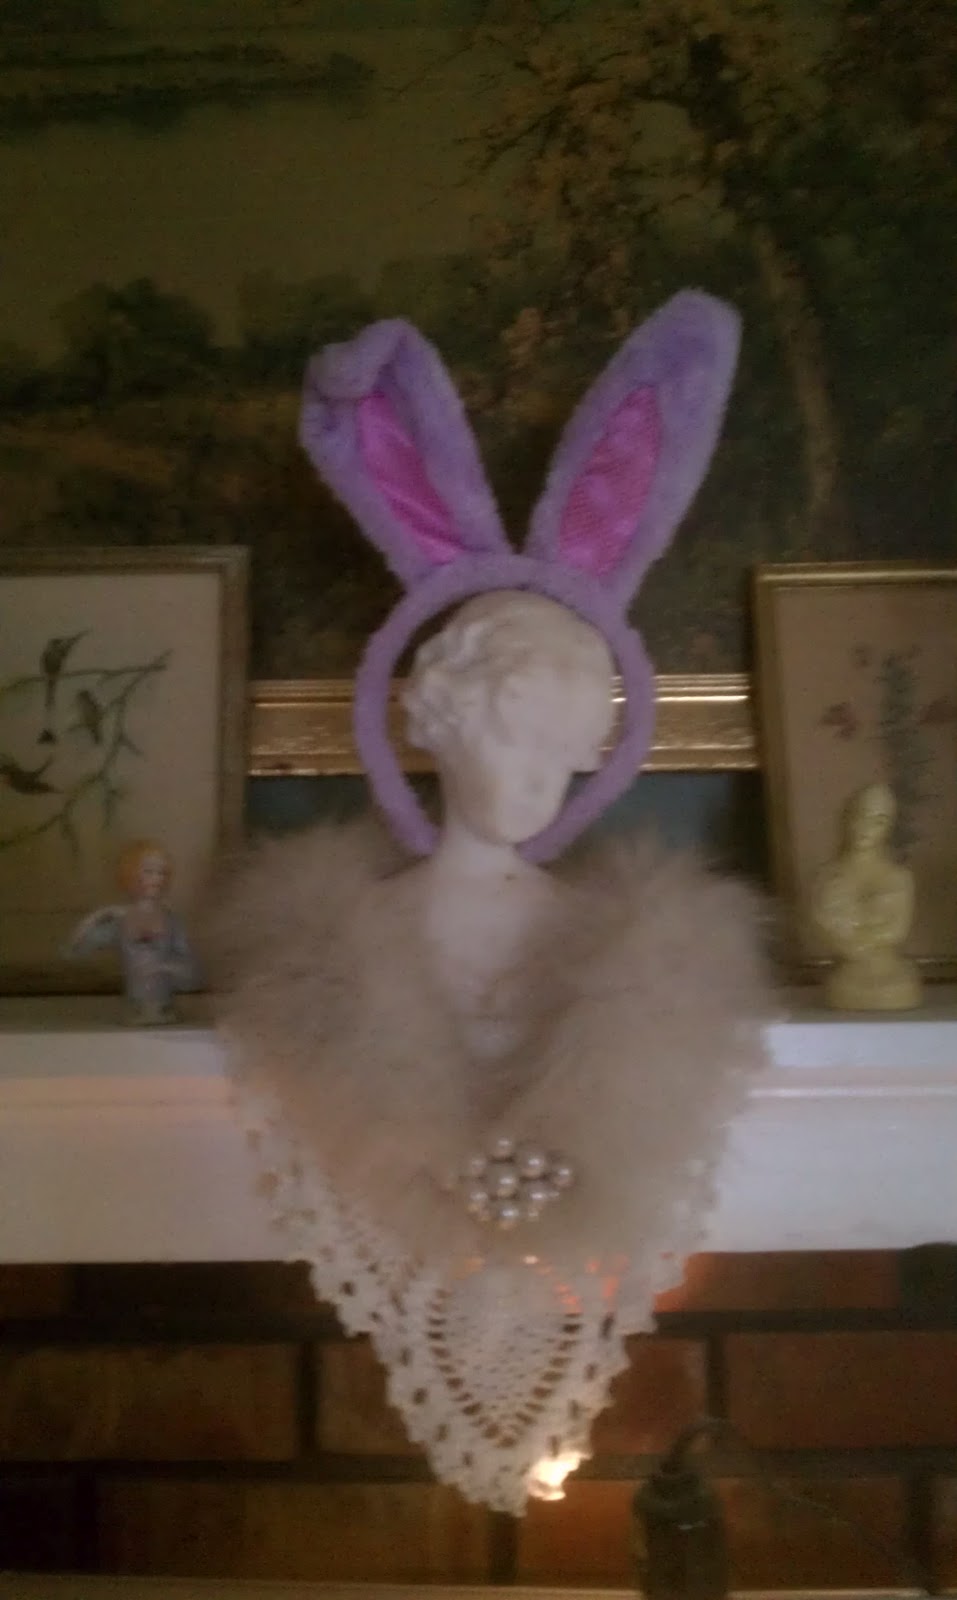
and i just hadda put my bunny ears that my daughter recently gave me to good use.
the big bunny is just a few years old...i bought it from at a craft fair a few years back. to the right is an art doll i made a few years ago....and yes she does have ninnies...... made from polymer clay.
so i am pretty puny in the decorations department for this holiday. a few weeks ago when cleaning my studio i came across 4 large and 9 small papier mache eggs. the other night i came up with an idea for the small ones....and i have to say they turned out just like i imagined them! squeeeeee!
i decided to work upstairs in the kitchen because (a) i did not have enough open space on any of the tables in my studio and (b) the weather started out beautiful and i thought it would be great for snapping photos of the creative process. the weather quickly changed from sunny to cloudy and rainy then back to sunny then back to rainy...and the photos reflect it.
since i did not have enough acrylic paint, i 'borrowed' from our trim stash of creamy off white latex paint.
and because i am an a1 slob when it comes to painting i made sure the entire kitchen table was covered. i also wore a junky shirt because the inner kindergartener in me, still, without thinking, wipes her fingers on her shirt.
i wore rubber glubs, because i just did my nails the night before and did not want to ruin these beauties. normally i do not paint my nails very often, and normally my hands are stained with some arty medium. my daughter found matte polish for me.....loving the matte nail polish, and loving that the sparklies stay sparklyyyyyy.....ok...so where were we......
the 'before' photo....
i wanted the eggs to look antique and well loved. i played with a couple of different methods of removing just the right amount of paint.
this one i painted a light coat of paint and then held the egg for a few minutes. when i removed my hand it took some of the paint off with it.
the other method was rolling the egg when the paint was slightly tacky on newspaper. it actually ended up working out best when i crumpled the paper up and then wrapped the egg up in it and removed it.
a sampling of eggs done both ways....
next step, i stamped them.
to get a bit of exercise in, i took 3 eggs down to my basement studio at a time.
i love, love, love these. i remember a bit ago that i have a vintage wire egg basket and i may just transfer them in to that and keep them in the kitchen after easter.
for the large eggs i decided to try something that has been pinned on pinterest on several occasions. using elmers glue as a crackle medium.
even before my hubby lost his job 10 months ago i cringed at the cost of the different crackle paints and mediums out there. well now there is just no way, so needless to say this girl was as happy as i could possibly be when i saw the tute on pinterst.
only problem was i did not have enough elmers wood glue, and no white glue...but i had this
this stuff is a bit more pricey than good old elmers, but mixed with a bit of water to give it the consistancy of elmers it worked just fine. i am a now now now instant gratification kind of girl....ants in my pants kind of girl so there was going to be no waiting until later in the evening to get some elmers.
the first egg i did not basecoat. the other 3 i gave basecoat in pink, green, and purple.
i put the glue on with a sponge brush, and gave it a pretty gloppy thick coat....
you need to let the glue dry just enough so that it is tacky, or sticky. i found that just dry enough was when you could touch it and it would hold your finger print there. you then want to load your brush with enough paint to make one long stroke if possible. make sure you paint in one direction, as in from top to bottom of your project. do not put the paint on too thick, and do not go back and add more paint...unless it is immediate. the link for the elmers tute is
here .
being that instant gratification kinda girl i grabbed the space heater and used it to speed up the process.
there is one drawback to using this cheater-cheater method
nope, my easter egg did not develope a zit. but you do need to pop it.....ewww gross. sorry.
it is a poofy bubble of air due to the glue and paint becoming a bit too warm. who knows...maybe if i was to do it even longer it might've burst in to flames....so....if you are antsy like me and choose to use heat to speed up the processing of all of this be careful.
i still have more schtuff to do to these guys, and should have them done by tomorrow. i will post pics when i am done, and the pics will be better.
while digging for these eggs in a super huge plastic tub o'stuff i came across about 20 or so of these. most still unpainted.
cute little buggers aren't they?! i had forgotten all about them! so like i said...most still need to be painted. remember....i am not much of a repetition type of a person. i figure i will start on them in july or august to put in the nest feathers shop.
i am self taught at everything i do. i saw the snowman face on a painting magazine for ghosts and adapted it.
i am so thankful for donna dewberry. that woman knows how to teach some painting. her books are just perfect for someone like me. learning disabilities and blonde, and i tend to over complicate things...all handicaps! *snort*
i am still so proud of what i painted on our 1930's kitchen table...so proud i'm just gonna show it off again!
well...that is pretty much all the show-n-tell for now. if all goes as planned i will be back tomorrow to show off the finished bits of the crackle eggs.
sloppy smooches and squishy hugs to you....

.JPG)