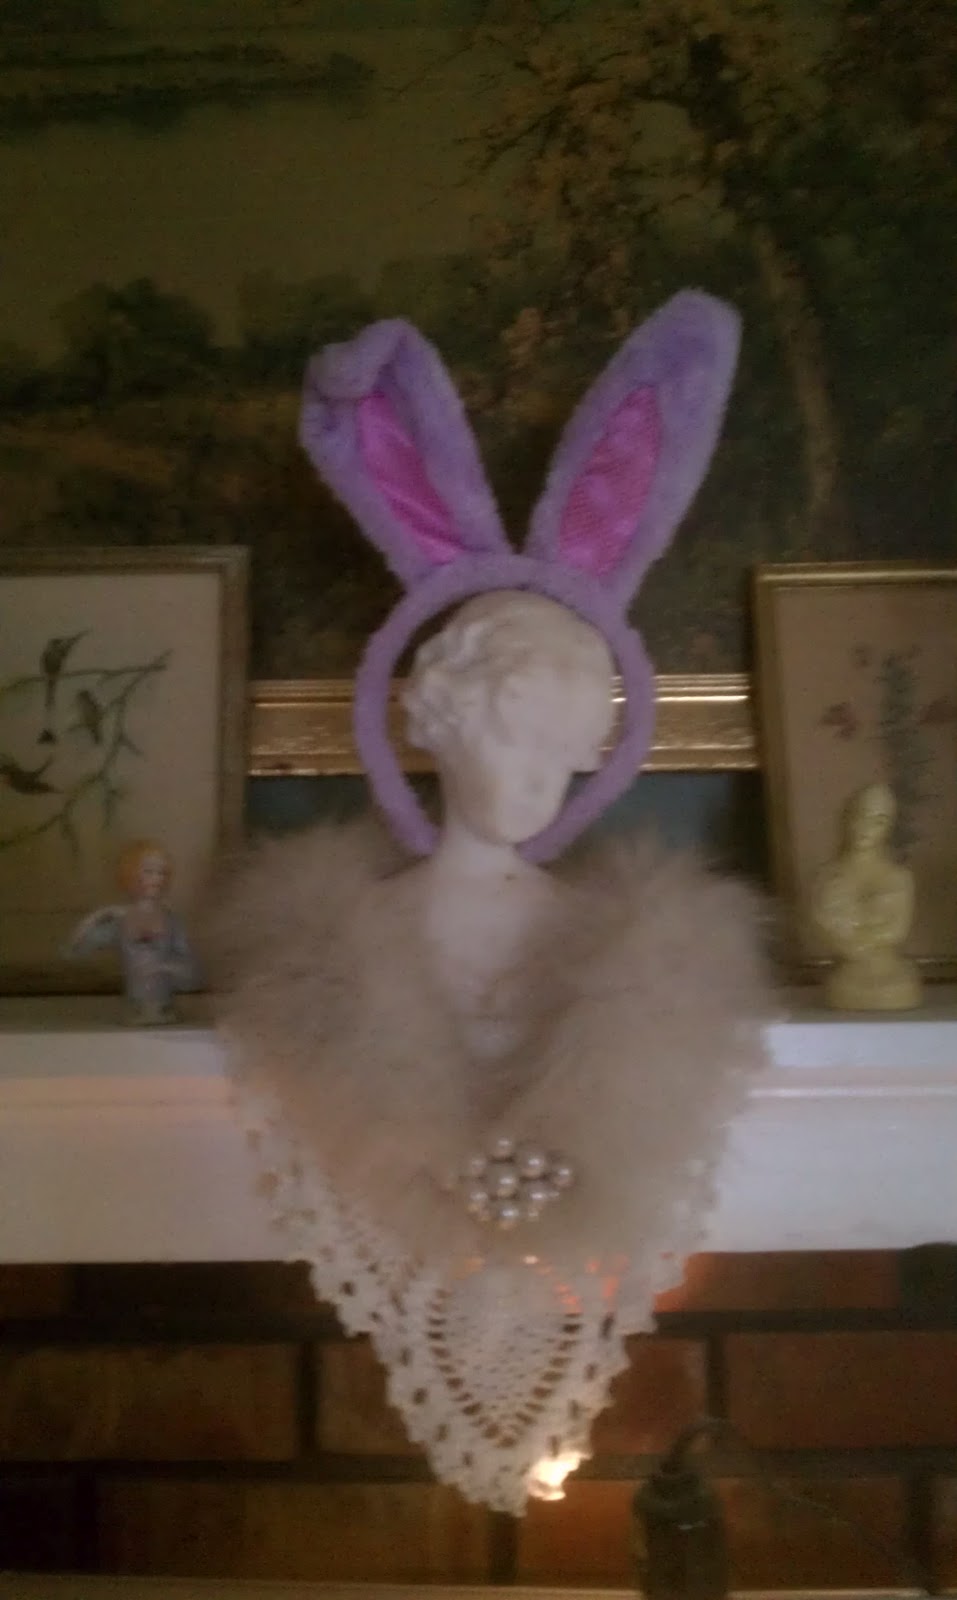
is how this post will be. this arty girl is tired big time. heartburn kept me up until 5am then i had peeps to wake up at different intervals, and being that i had probably just entered a good rem sleep when the alarm went off the first time i was way to out of it and woke up the wrong peep....oops.....
so i had the house to myself for almost 2 whole hours! squeeeee! and after about 2 seconds the excitement was gone.......i realized i had nothing special to do or enjoy and i had dishes in the sink to be washed by hand (hoping we can get the new hose for the dishwasher this month) there was laundry, and bathrooms to be cleaned, vacuuming and dusting...blah blah blah and then the studio was calling my name.....or i could run through the house necked.....i could do the dishes necked......watch tv....well you get the picture and i have done all of the above already.....just kidding......ok, i have run through the house naked....ppppbbbbbbtttt...whoopie. the only one that got a thrill out of that was mike, the dog....and well that was just creepy and weird.
so i got on facebook, nothing good going on there, and pinterest and someone had gone on a pinbinge and od'ed on some goofy fashion designer with really really ......um.....unique concepts.
my message from God on facebook said:
Showing posts with label easter. Show all posts
Tuesday, March 27, 2012
quick like a bunny
Labels:
bunny,
chatter,
christine alane,
cut,
dog,
easter,
glass,
mike,
mind,
naked,
necklaces,
peter cotton tail,
quiet,
run,
solder
Monday, March 26, 2012
glitter, glitter everywhere...even in
my underwear.....maybe a tmi...but it aint no lie.
that is what i love/hate about glitter. it will be on me and everything i touch for at least a week.
the plan for today was to finish crackle egg number 4 and then work on doing some more studio tidying. well the beast had other plans for the day. the beast wanted to watch the ncis marathon. i argued with the beast that we could watch the marathon on my ancient tiny tv in my studio. so off i went downstairs to the studio and the beast protested. i almost fell on my face 3 times just getting to my chair.
once in my chair i was okey dokey, i had my glitter...squeeeee....and my glue. i penciled the words 'happy easter' on the egg and realized the word easter was a bit off kilter and i had used a sketching pencil and there was no erasing it....sheesh. ( i would love to blame this on the beast, and probably could, but i am sure it was just my lack of paying total attention to what i was doing to blame) i went ahead and traced over the letters with glue
i sprinkled the oh-so-magical glitter over it and the beast acted naughty and my hand and brain quit communicating and i.......dropped.....the.......egg! ewwwwwwwwww. i picked the egg up real quick and began to smoooosh the glitter and glue back where it was originally. &^*%&(^$%^$ beast!
after side 1 dried
i figured there is another side to the egg so i will give it another shot, and thankfully it turned out better. the beast did mess with me on side 2 but i whooped its' butt.
much better side 2 is.
i have to admit that i did finally give in to the beast shortly after this. but at least...at least i came down to my studio and did accomplish something.
i was too lazy to get my camera out of its case to capture a better photo...but this will give ya an idea of where it landed.
while flipping channels trying to find something other than an infomercial to watch to keep me company after you and i part ways for the evening i came across the last few minutes of young frankenstein. i love that movie and i am pretty bummed that i missed it.
well, i am off to go take another swig from the bottle of store brand mylanta as this heartburn is being quite a jerk.
sleep tight. mwah.
that is what i love/hate about glitter. it will be on me and everything i touch for at least a week.
the plan for today was to finish crackle egg number 4 and then work on doing some more studio tidying. well the beast had other plans for the day. the beast wanted to watch the ncis marathon. i argued with the beast that we could watch the marathon on my ancient tiny tv in my studio. so off i went downstairs to the studio and the beast protested. i almost fell on my face 3 times just getting to my chair.
once in my chair i was okey dokey, i had my glitter...squeeeee....and my glue. i penciled the words 'happy easter' on the egg and realized the word easter was a bit off kilter and i had used a sketching pencil and there was no erasing it....sheesh. ( i would love to blame this on the beast, and probably could, but i am sure it was just my lack of paying total attention to what i was doing to blame) i went ahead and traced over the letters with glue
i sprinkled the oh-so-magical glitter over it and the beast acted naughty and my hand and brain quit communicating and i.......dropped.....the.......egg! ewwwwwwwwww. i picked the egg up real quick and began to smoooosh the glitter and glue back where it was originally. &^*%&(^$%^$ beast!
after side 1 dried
i figured there is another side to the egg so i will give it another shot, and thankfully it turned out better. the beast did mess with me on side 2 but i whooped its' butt.
much better side 2 is.
i have to admit that i did finally give in to the beast shortly after this. but at least...at least i came down to my studio and did accomplish something.
i was too lazy to get my camera out of its case to capture a better photo...but this will give ya an idea of where it landed.
while flipping channels trying to find something other than an infomercial to watch to keep me company after you and i part ways for the evening i came across the last few minutes of young frankenstein. i love that movie and i am pretty bummed that i missed it.
well, i am off to go take another swig from the bottle of store brand mylanta as this heartburn is being quite a jerk.
sleep tight. mwah.
Labels:
beast,
crackle,
diamond glaze,
easter,
egg,
frankenstein,
glitter,
happy,
heartburn,
meniere's disease,
mylanta,
paint,
vertigo,
young
Saturday, March 24, 2012
elmers glue crackle eggs are finished and looking quite easter-y
oh boy was today a lazy day. the hubby and i spent a good part of the day with each other in bed watching tv and talking, taking turns on the computer. i would start to feel guilty for doing nothing when there was so much to be done...but there is always so much to be done, it will be there tomorrow and we needed some serious togetherness and there is no guarantee that either of us will be here tomorrow.
finally the bed worked its' magic on the hubby and he was snoring and so off to the studio to finish the crackle eggs i started yesterday.
i knew what ribbon i wanted and that i wanted some type of charm for each egg. i have not soldered in over a year. soldering and decorative painting are the two things that i have to get my groove back if i don't do it for awhile, but i was pretty surprised at how quickly i started to....well get my groove back.
i don't do perfect pretty soldering. maybe someday. i hope to be able to take a sally jean online class....if she still has them by the time the hubby is employed employed and we have the extra funds to spare for the class and a new soldering iron.
yea...i should have left the dots off this one. doing dots on a piece like this is not easy when you don't have the right clippy dohicky to hold the bottle in one place. mine broke last year and i did not realize what a wonderful 3rd hand it made...... but i tried anyway.
this little charm has a vintage applique under glass.
this one has vintage book text.
after i soldered the charms i gave them a vintage-y look with patina. the child proof cap that was originally on this new bottle of instant aging magic about drove me insane! i knew if i could only find a small child the cap would come right off.....but my oldest son came to the rescue. he left me with words of wisdom....mom, now make sure you are really done with this stuff before you put the cap back on. i did one better, i found a bottle of nasty solution i rarely use and i traded caps!
wah-laaaaa and ta-daaaa.....here they are.
i still need to easter-up the last egg.....i am thinking i need to break out the glitter for that one?! whaddaya think?
thought i would leave you with this. found it while going through some stuff today. i think this is one of the best fortune cookie fortunes i have ever had.....except for the one that told me i would be rich beyond my wildest dreams.
this arty girl is actually feeling tired already and it is only 1:04 a.m. i am about 3 hours ahead of schedule.
sleep tight. mwah!
finally the bed worked its' magic on the hubby and he was snoring and so off to the studio to finish the crackle eggs i started yesterday.
i knew what ribbon i wanted and that i wanted some type of charm for each egg. i have not soldered in over a year. soldering and decorative painting are the two things that i have to get my groove back if i don't do it for awhile, but i was pretty surprised at how quickly i started to....well get my groove back.
i don't do perfect pretty soldering. maybe someday. i hope to be able to take a sally jean online class....if she still has them by the time the hubby is employed employed and we have the extra funds to spare for the class and a new soldering iron.
yea...i should have left the dots off this one. doing dots on a piece like this is not easy when you don't have the right clippy dohicky to hold the bottle in one place. mine broke last year and i did not realize what a wonderful 3rd hand it made...... but i tried anyway.
this little charm has a vintage applique under glass.
this one has vintage book text.
after i soldered the charms i gave them a vintage-y look with patina. the child proof cap that was originally on this new bottle of instant aging magic about drove me insane! i knew if i could only find a small child the cap would come right off.....but my oldest son came to the rescue. he left me with words of wisdom....mom, now make sure you are really done with this stuff before you put the cap back on. i did one better, i found a bottle of nasty solution i rarely use and i traded caps!
wah-laaaaa and ta-daaaa.....here they are.
i still need to easter-up the last egg.....i am thinking i need to break out the glitter for that one?! whaddaya think?
thought i would leave you with this. found it while going through some stuff today. i think this is one of the best fortune cookie fortunes i have ever had.....except for the one that told me i would be rich beyond my wildest dreams.
this arty girl is actually feeling tired already and it is only 1:04 a.m. i am about 3 hours ahead of schedule.
sleep tight. mwah!
Friday, March 23, 2012
do-dadding up papier mache easter eggs
finally i am back...what ever crud i had kicked this arty girls butt in a big way and made the beast (meniere's vertigo for those who are new here) cranky. but i am back.
i still need to finish the other bunny necklace, but i really wanted to work on something easter-y today. i really don't have many decorations for easter. i dunno why.
and yes, the bunny necklace is easter-y....but i just didn't wanna work on it....ok already?
what vintage decorations i have i loves......
these bunnies were made with my mom. 16 years ago we were going to get into the craft business, but i had a newborn at the time and it just never....happened. probably a good thing because when sewing these i wanted to jab the scissors in to my body repeatedly....i just can not do repetition.
and i just hadda put my bunny ears that my daughter recently gave me to good use.
the big bunny is just a few years old...i bought it from at a craft fair a few years back. to the right is an art doll i made a few years ago....and yes she does have ninnies...... made from polymer clay.
so i am pretty puny in the decorations department for this holiday. a few weeks ago when cleaning my studio i came across 4 large and 9 small papier mache eggs. the other night i came up with an idea for the small ones....and i have to say they turned out just like i imagined them! squeeeeee!
i decided to work upstairs in the kitchen because (a) i did not have enough open space on any of the tables in my studio and (b) the weather started out beautiful and i thought it would be great for snapping photos of the creative process. the weather quickly changed from sunny to cloudy and rainy then back to sunny then back to rainy...and the photos reflect it.
since i did not have enough acrylic paint, i 'borrowed' from our trim stash of creamy off white latex paint.
and because i am an a1 slob when it comes to painting i made sure the entire kitchen table was covered. i also wore a junky shirt because the inner kindergartener in me, still, without thinking, wipes her fingers on her shirt.
i wore rubber glubs, because i just did my nails the night before and did not want to ruin these beauties. normally i do not paint my nails very often, and normally my hands are stained with some arty medium. my daughter found matte polish for me.....loving the matte nail polish, and loving that the sparklies stay sparklyyyyyy.....ok...so where were we......
the 'before' photo....
i wanted the eggs to look antique and well loved. i played with a couple of different methods of removing just the right amount of paint.
this one i painted a light coat of paint and then held the egg for a few minutes. when i removed my hand it took some of the paint off with it.
the other method was rolling the egg when the paint was slightly tacky on newspaper. it actually ended up working out best when i crumpled the paper up and then wrapped the egg up in it and removed it.
a sampling of eggs done both ways....
next step, i stamped them.
to get a bit of exercise in, i took 3 eggs down to my basement studio at a time.
i love, love, love these. i remember a bit ago that i have a vintage wire egg basket and i may just transfer them in to that and keep them in the kitchen after easter.
for the large eggs i decided to try something that has been pinned on pinterest on several occasions. using elmers glue as a crackle medium.
even before my hubby lost his job 10 months ago i cringed at the cost of the different crackle paints and mediums out there. well now there is just no way, so needless to say this girl was as happy as i could possibly be when i saw the tute on pinterst.
only problem was i did not have enough elmers wood glue, and no white glue...but i had this
this stuff is a bit more pricey than good old elmers, but mixed with a bit of water to give it the consistancy of elmers it worked just fine. i am a now now now instant gratification kind of girl....ants in my pants kind of girl so there was going to be no waiting until later in the evening to get some elmers.
the first egg i did not basecoat. the other 3 i gave basecoat in pink, green, and purple.
i put the glue on with a sponge brush, and gave it a pretty gloppy thick coat....
you need to let the glue dry just enough so that it is tacky, or sticky. i found that just dry enough was when you could touch it and it would hold your finger print there. you then want to load your brush with enough paint to make one long stroke if possible. make sure you paint in one direction, as in from top to bottom of your project. do not put the paint on too thick, and do not go back and add more paint...unless it is immediate. the link for the elmers tute is here .
being that instant gratification kinda girl i grabbed the space heater and used it to speed up the process.
there is one drawback to using this cheater-cheater method
nope, my easter egg did not develope a zit. but you do need to pop it.....ewww gross. sorry.
it is a poofy bubble of air due to the glue and paint becoming a bit too warm. who knows...maybe if i was to do it even longer it might've burst in to flames....so....if you are antsy like me and choose to use heat to speed up the processing of all of this be careful.
i still have more schtuff to do to these guys, and should have them done by tomorrow. i will post pics when i am done, and the pics will be better.
while digging for these eggs in a super huge plastic tub o'stuff i came across about 20 or so of these. most still unpainted.
cute little buggers aren't they?! i had forgotten all about them! so like i said...most still need to be painted. remember....i am not much of a repetition type of a person. i figure i will start on them in july or august to put in the nest feathers shop.
i am self taught at everything i do. i saw the snowman face on a painting magazine for ghosts and adapted it.
i am so thankful for donna dewberry. that woman knows how to teach some painting. her books are just perfect for someone like me. learning disabilities and blonde, and i tend to over complicate things...all handicaps! *snort*
i am still so proud of what i painted on our 1930's kitchen table...so proud i'm just gonna show it off again!
well...that is pretty much all the show-n-tell for now. if all goes as planned i will be back tomorrow to show off the finished bits of the crackle eggs.
sloppy smooches and squishy hugs to you....
i still need to finish the other bunny necklace, but i really wanted to work on something easter-y today. i really don't have many decorations for easter. i dunno why.
and yes, the bunny necklace is easter-y....but i just didn't wanna work on it....ok already?
what vintage decorations i have i loves......
these bunnies were made with my mom. 16 years ago we were going to get into the craft business, but i had a newborn at the time and it just never....happened. probably a good thing because when sewing these i wanted to jab the scissors in to my body repeatedly....i just can not do repetition.
and i just hadda put my bunny ears that my daughter recently gave me to good use.
the big bunny is just a few years old...i bought it from at a craft fair a few years back. to the right is an art doll i made a few years ago....and yes she does have ninnies...... made from polymer clay.
so i am pretty puny in the decorations department for this holiday. a few weeks ago when cleaning my studio i came across 4 large and 9 small papier mache eggs. the other night i came up with an idea for the small ones....and i have to say they turned out just like i imagined them! squeeeeee!
i decided to work upstairs in the kitchen because (a) i did not have enough open space on any of the tables in my studio and (b) the weather started out beautiful and i thought it would be great for snapping photos of the creative process. the weather quickly changed from sunny to cloudy and rainy then back to sunny then back to rainy...and the photos reflect it.
since i did not have enough acrylic paint, i 'borrowed' from our trim stash of creamy off white latex paint.
and because i am an a1 slob when it comes to painting i made sure the entire kitchen table was covered. i also wore a junky shirt because the inner kindergartener in me, still, without thinking, wipes her fingers on her shirt.
i wore rubber glubs, because i just did my nails the night before and did not want to ruin these beauties. normally i do not paint my nails very often, and normally my hands are stained with some arty medium. my daughter found matte polish for me.....loving the matte nail polish, and loving that the sparklies stay sparklyyyyyy.....ok...so where were we......
the 'before' photo....
i wanted the eggs to look antique and well loved. i played with a couple of different methods of removing just the right amount of paint.
this one i painted a light coat of paint and then held the egg for a few minutes. when i removed my hand it took some of the paint off with it.
the other method was rolling the egg when the paint was slightly tacky on newspaper. it actually ended up working out best when i crumpled the paper up and then wrapped the egg up in it and removed it.
a sampling of eggs done both ways....
next step, i stamped them.
to get a bit of exercise in, i took 3 eggs down to my basement studio at a time.
i love, love, love these. i remember a bit ago that i have a vintage wire egg basket and i may just transfer them in to that and keep them in the kitchen after easter.
for the large eggs i decided to try something that has been pinned on pinterest on several occasions. using elmers glue as a crackle medium.
even before my hubby lost his job 10 months ago i cringed at the cost of the different crackle paints and mediums out there. well now there is just no way, so needless to say this girl was as happy as i could possibly be when i saw the tute on pinterst.
only problem was i did not have enough elmers wood glue, and no white glue...but i had this
this stuff is a bit more pricey than good old elmers, but mixed with a bit of water to give it the consistancy of elmers it worked just fine. i am a now now now instant gratification kind of girl....ants in my pants kind of girl so there was going to be no waiting until later in the evening to get some elmers.
the first egg i did not basecoat. the other 3 i gave basecoat in pink, green, and purple.
i put the glue on with a sponge brush, and gave it a pretty gloppy thick coat....
you need to let the glue dry just enough so that it is tacky, or sticky. i found that just dry enough was when you could touch it and it would hold your finger print there. you then want to load your brush with enough paint to make one long stroke if possible. make sure you paint in one direction, as in from top to bottom of your project. do not put the paint on too thick, and do not go back and add more paint...unless it is immediate. the link for the elmers tute is here .
being that instant gratification kinda girl i grabbed the space heater and used it to speed up the process.
there is one drawback to using this cheater-cheater method
nope, my easter egg did not develope a zit. but you do need to pop it.....ewww gross. sorry.
it is a poofy bubble of air due to the glue and paint becoming a bit too warm. who knows...maybe if i was to do it even longer it might've burst in to flames....so....if you are antsy like me and choose to use heat to speed up the processing of all of this be careful.
i still have more schtuff to do to these guys, and should have them done by tomorrow. i will post pics when i am done, and the pics will be better.
while digging for these eggs in a super huge plastic tub o'stuff i came across about 20 or so of these. most still unpainted.
cute little buggers aren't they?! i had forgotten all about them! so like i said...most still need to be painted. remember....i am not much of a repetition type of a person. i figure i will start on them in july or august to put in the nest feathers shop.
i am self taught at everything i do. i saw the snowman face on a painting magazine for ghosts and adapted it.
i am so thankful for donna dewberry. that woman knows how to teach some painting. her books are just perfect for someone like me. learning disabilities and blonde, and i tend to over complicate things...all handicaps! *snort*
i am still so proud of what i painted on our 1930's kitchen table...so proud i'm just gonna show it off again!
well...that is pretty much all the show-n-tell for now. if all goes as planned i will be back tomorrow to show off the finished bits of the crackle eggs.
sloppy smooches and squishy hugs to you....
Labels:
acrylic paint,
bunny,
crackle,
donna dewberry,
easter,
egg,
eggs,
ghost,
hydrangea,
ink pad,
lamb,
latex paint,
number,
rabbit,
roses,
snow men,
snowmen,
stamp pad,
stazon,
vintage
Monday, March 12, 2012
i think i found my mojo
i have spent a couple of weeks cleaning and reorganizing my studio, getting rid of things that after years i have not used, but will in a week or month or so i will find a use for....as always.
my studio still needs some work done, but i have enough room to work and this arty girl is starting to find her oh-so-lost mojo again.
since easter is around the corner i figured what better project to start off with than one that has a bunny.
about a year ago while wandering the bead section of a local artsy fartsy store i came across the beads for this project and knew exactly what i was going to do with them. one set of beads have flowers printed on them...the other remind me of heads of lettuce or cabbage.
i needed this guy (and his twin) for the necklaces....... because this is one of those make one to sell and one for meeeee kind of pieces. these bunnies have been part of our easter decorations for about 20 years.
even though the bunnies are 20 years old, they did not look old enough so i aged them with a bit of sanding and......
how about that chippy neon pink polish i am sporting....huh? every time i would look down at my nails it would about blind me!
i using a sponge brush i rubbed a bit of this over the bunnies....
the top bunny has been aged with the distress ink, and the bottom one....not yet.
later today i will spray a bit of clear coat on it to seal the distress ink.
the next few steps were very tedious.....i cut 60+ 4" pieces of 18 gauge steel wire.
there are 2 very important tools, besides the clippers, for this job.....
i love my nitrile gloves. they help keep my hands clean....er, and keep me from getting poked by the wire. after a messy job like this i give them a good washing with some dish soap and ring them out.
my safety glasses with built in bi-focals. this arty girl will be 47 this april, and even though i feel like i could be my 21 year old daughters twin sister, my eyes and their abililty to focus on objects within arms length would beg to differ.
i use to wear my safety glasses all willy nilly until a few years ago when cutting the tip off of a large sewing needle, about the size of 18 gauge wire, the chunk hit me dead center in my eyeball. yipes! i kept looking at my eyeball all evening expecting to find the chunk imbedded in my eyeball...several hours later i found the quarter inch piece in the lower part of my eye lid. it took over an hour to get it out of my eye....believe it or not, it is much easier to get an eyelash out of the ole eyeball than a chunk of a needle.
i now wear my safety glasses 99 % of the time and usually won't even cut a piece of paper without them on.
so after cutting these 60 pieces, which takes some muscle let me tell ya, i then began sanding off the annealing.
i have found that the easiest method for this is to sandwich the wire between 2 sanding blocks.
i use the super cheapies from harbor freight.
below you can see the difference. i love the aged look the annealing gives, but it rubs off and it is icky, so if i want to age and darken the steel i rub a bit of novacan black patina on it...which i do not have a picture of. you can buy it at shops that sell stain glass and soldering schtuff.
thank goodness i have a tiny t.v. from the dark ages in my studio. it gave me something to watch while i undertook this boring task. i am too antsy to sit for too very long doing something like this. even while engrossed in a movie i had seen a dozen times before.....eagle eye....i still had to get up and fidget in my studio every 15 or 20 pieces.
by the time i was done with this my shoulders and hands were in cramps, so i decided it was a good time to join the peeps upstairs for the evening....and if i began to feel a bit guilty, all i had to do was remind myself that my nitrile glubs were-a-drying and i had to wait for them to dry for the next task anyway.
the next task will be to apply a coating of this stuff.....
this will seal the steel and help prevent rusting in case it comes in contact with water. i have not had much experience with this stuff, just under a year of working with it, but many artists that work with steel use it and swear by it.
i am hoping by later today i will have completed this step and be well on my way wire wrapping the beads and assembling this piece.
you will have to excuse the blurry-ness of this photo, but it is a bit of a peek of what is to come.
i am still not sure of how the bunny will connect to the necklace.
and i am ending this post with a pat on my back, because the beast (meniere's disease vertigo) has been kicking my butt big and bad...i spent two days in bed because i was unable to walk....i was able to do all of this while my world was still spinning and tilting. i am able to walk at this point, but i kinda look like a drunk trying to walk on a waterbed, and my hands sometimes forget they are attached to my body and i drop things.....alot....which makes the whole entire process of creating slow going at times. my fear of becoming an invalid from this disease has given me the strength and determination to push myself beyond what i thought i could do. i am pretty darn proud of myself.
with that said, and my back patted, i hope to be able to post later this evening with photos of what i have completed.
xo
my studio still needs some work done, but i have enough room to work and this arty girl is starting to find her oh-so-lost mojo again.
since easter is around the corner i figured what better project to start off with than one that has a bunny.
about a year ago while wandering the bead section of a local artsy fartsy store i came across the beads for this project and knew exactly what i was going to do with them. one set of beads have flowers printed on them...the other remind me of heads of lettuce or cabbage.
i needed this guy (and his twin) for the necklaces....... because this is one of those make one to sell and one for meeeee kind of pieces. these bunnies have been part of our easter decorations for about 20 years.
even though the bunnies are 20 years old, they did not look old enough so i aged them with a bit of sanding and......
how about that chippy neon pink polish i am sporting....huh? every time i would look down at my nails it would about blind me!
i using a sponge brush i rubbed a bit of this over the bunnies....
the top bunny has been aged with the distress ink, and the bottom one....not yet.
later today i will spray a bit of clear coat on it to seal the distress ink.
the next few steps were very tedious.....i cut 60+ 4" pieces of 18 gauge steel wire.
there are 2 very important tools, besides the clippers, for this job.....
i love my nitrile gloves. they help keep my hands clean....er, and keep me from getting poked by the wire. after a messy job like this i give them a good washing with some dish soap and ring them out.
my safety glasses with built in bi-focals. this arty girl will be 47 this april, and even though i feel like i could be my 21 year old daughters twin sister, my eyes and their abililty to focus on objects within arms length would beg to differ.
i use to wear my safety glasses all willy nilly until a few years ago when cutting the tip off of a large sewing needle, about the size of 18 gauge wire, the chunk hit me dead center in my eyeball. yipes! i kept looking at my eyeball all evening expecting to find the chunk imbedded in my eyeball...several hours later i found the quarter inch piece in the lower part of my eye lid. it took over an hour to get it out of my eye....believe it or not, it is much easier to get an eyelash out of the ole eyeball than a chunk of a needle.
i now wear my safety glasses 99 % of the time and usually won't even cut a piece of paper without them on.
so after cutting these 60 pieces, which takes some muscle let me tell ya, i then began sanding off the annealing.
i have found that the easiest method for this is to sandwich the wire between 2 sanding blocks.
i use the super cheapies from harbor freight.
below you can see the difference. i love the aged look the annealing gives, but it rubs off and it is icky, so if i want to age and darken the steel i rub a bit of novacan black patina on it...which i do not have a picture of. you can buy it at shops that sell stain glass and soldering schtuff.
thank goodness i have a tiny t.v. from the dark ages in my studio. it gave me something to watch while i undertook this boring task. i am too antsy to sit for too very long doing something like this. even while engrossed in a movie i had seen a dozen times before.....eagle eye....i still had to get up and fidget in my studio every 15 or 20 pieces.
by the time i was done with this my shoulders and hands were in cramps, so i decided it was a good time to join the peeps upstairs for the evening....and if i began to feel a bit guilty, all i had to do was remind myself that my nitrile glubs were-a-drying and i had to wait for them to dry for the next task anyway.
the next task will be to apply a coating of this stuff.....
this will seal the steel and help prevent rusting in case it comes in contact with water. i have not had much experience with this stuff, just under a year of working with it, but many artists that work with steel use it and swear by it.
i am hoping by later today i will have completed this step and be well on my way wire wrapping the beads and assembling this piece.
you will have to excuse the blurry-ness of this photo, but it is a bit of a peek of what is to come.
i am still not sure of how the bunny will connect to the necklace.
and i am ending this post with a pat on my back, because the beast (meniere's disease vertigo) has been kicking my butt big and bad...i spent two days in bed because i was unable to walk....i was able to do all of this while my world was still spinning and tilting. i am able to walk at this point, but i kinda look like a drunk trying to walk on a waterbed, and my hands sometimes forget they are attached to my body and i drop things.....alot....which makes the whole entire process of creating slow going at times. my fear of becoming an invalid from this disease has given me the strength and determination to push myself beyond what i thought i could do. i am pretty darn proud of myself.
with that said, and my back patted, i hope to be able to post later this evening with photos of what i have completed.
xo
Labels:
anneal,
bunnies,
bunny,
cabbage,
easter,
flowers,
lettuce,
meniere's disease,
mojo,
necklaces,
nitrile gloves,
renaissance wax,
sand,
steel wire
Subscribe to:
Posts (Atom)